It's been a long time since I posted a school project. But since the top searches on my blog always lead to our
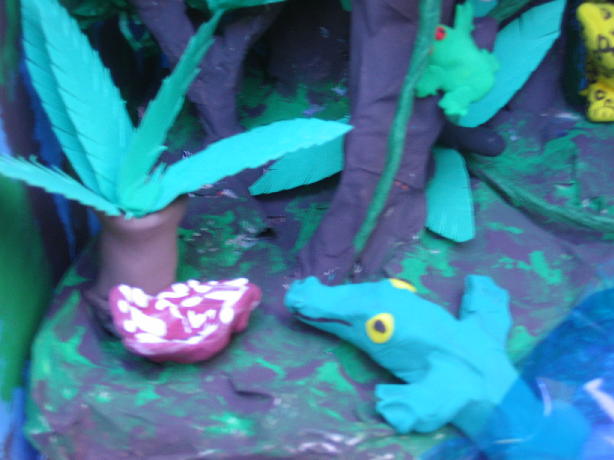
rainforest diorama and
atom model, I thought it might be time to post another one! I've been meaning to post this for years: Lizzy's 3D cross-section volcano.
Here's how we made it. We started with a large cardboard tube cut in half, and a flat square box about the size and shape of a large pizza box. I cut an arc in the middle of the box and inserted one end of the cardboard tube, spread a little at the base.
The main body of the volcano was built up using lots of foil
until it looked like this from the top
and this from the side.
The next bit was a little tricky and probably unecessary. We cut away the top of the box in front of the "volcano",
cut the cardboard at the front of the box, folded it back, added another piece of cardboard to join it all together, and fastened them with thick tape
so that the "underground" was included in the cross-section.
Then Lizzy covered our "volcano" with paper mache made out of newspaper and wallpaper paste
until the foil was completely covered;
and covered this with a layer of plain paper mache
until it had a smooth, plain surface.
Once the paper mache was dry, we blocked in the three main colours using poster paint,
then blended the different colours into each other to make it look more natural,
and painted some "lava" overflowing the top.
Here's how it looked from the back.
Lizzy used red cellophane to make the "lava" in the middle of the volcano,
then added cotton wool to make the "smoke".
To finish it off she added a few labels. There you go: a volcano!